
Beef ribs in the Instant Pot are the only way to go. (Original recipe in link)
Ingredients:
- 2 pounds Beef short ribs
- 1/2 teaspoons salt
- 1/4 teaspoons pepper
- 1 1/2 teaspoons olive oil
- 1 1/4 diced onion
- 1 teaspoon mince garlic cloves
- 1/2 cups Red wine
- 1/3 cups Ketchup
- 1 1/2 tablespoon soy sauce
- 1 tablespoons Worcestershire sauce
- 1 tablespoon brown sugar
- 3 carrots-chopped
- 1 individual Thyme, fresh
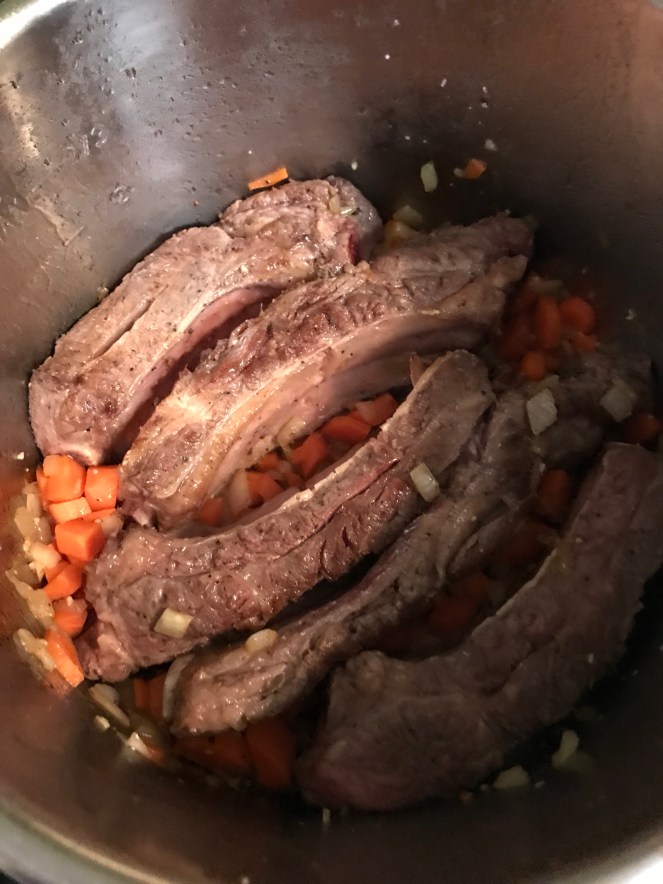
 Due to the nature of pressure cooking there is always room for inconsistency. The times given here are base on 4 servings fresh. If you are using more servings you may need to increase your cooking time. Sprinkle ribs with salt and pepper and cut between bones (3 or 4 inch segments). Sear the beef on all sides in the inner pot and remove.
 Add onions, carrots and cook until translucent, add garlic and cook for 1 minute more.
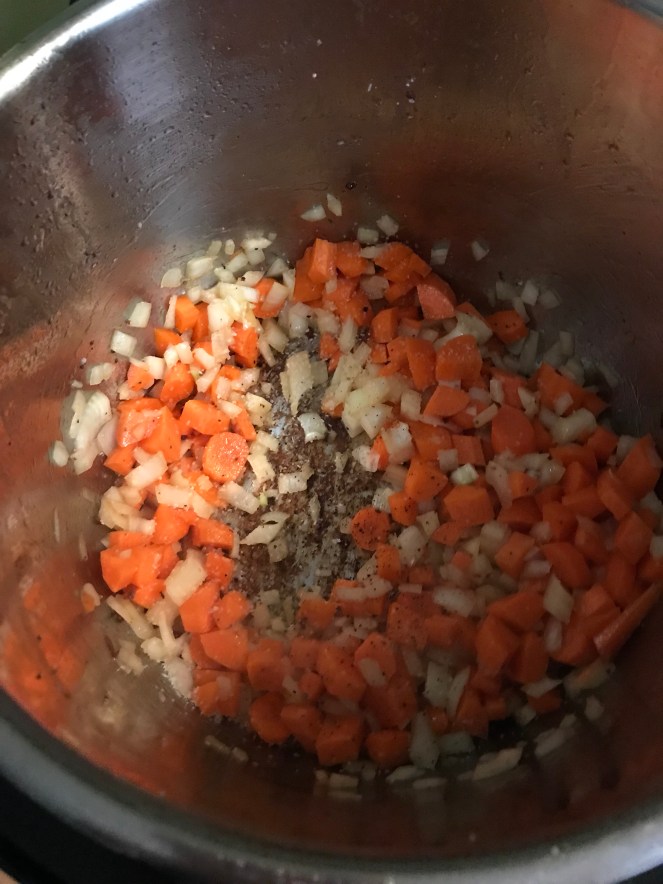
 Place ribs back into pot, cover with sauce. In a bowl, combine wine, ketchup soy sauce Worcestershire and brown sugar. Place sprigs of thyme on top.
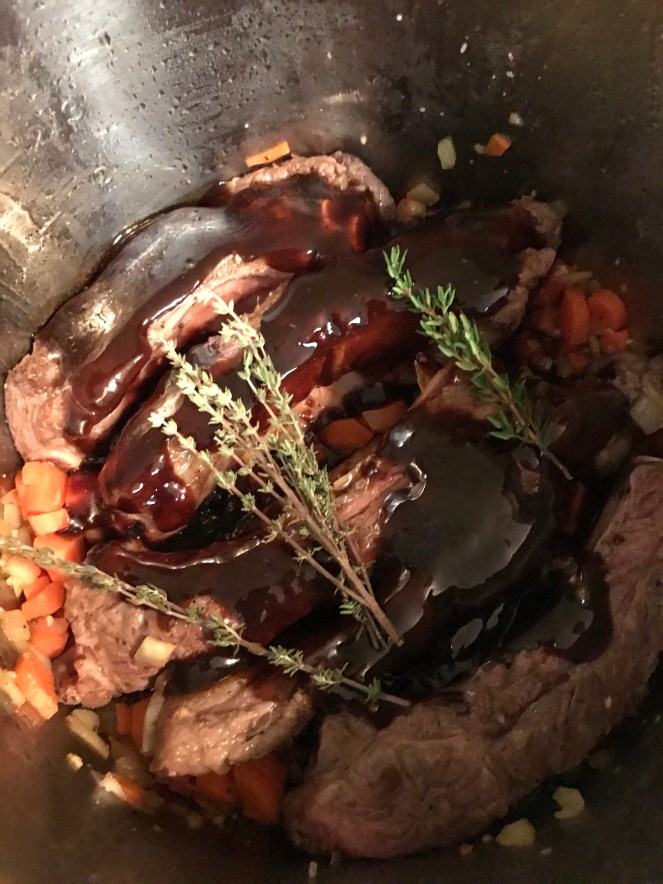 Lock cover into place and seal steam nozzle. Cook on high pressure for 35 minutes (I checked these at 35 minutes and decided to go another 10). Naturally release pressure for 5 minutes then quick release. Remove thyme.
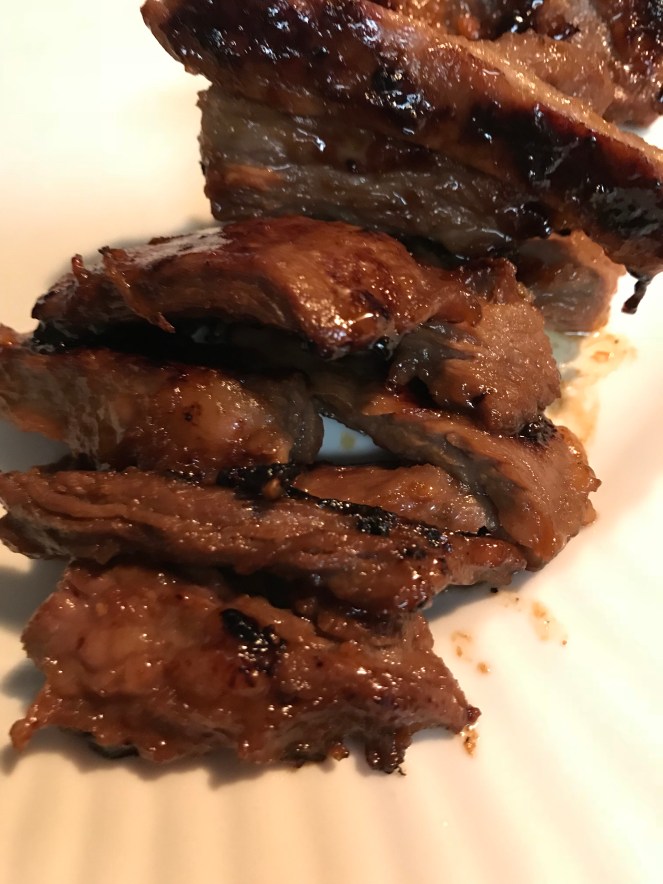
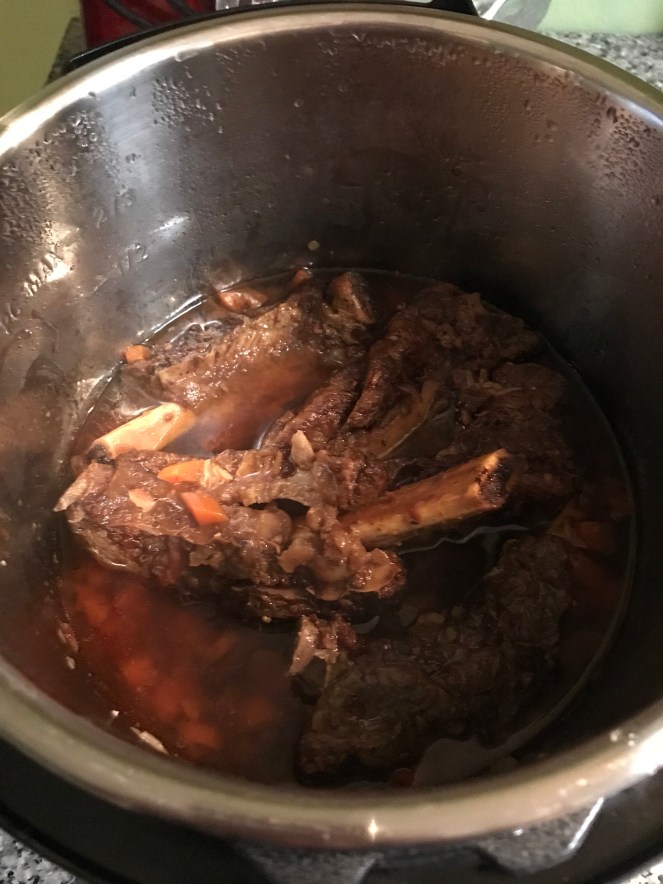 David’s plate. The rib meat was incredibly tender, and had so much flavor.
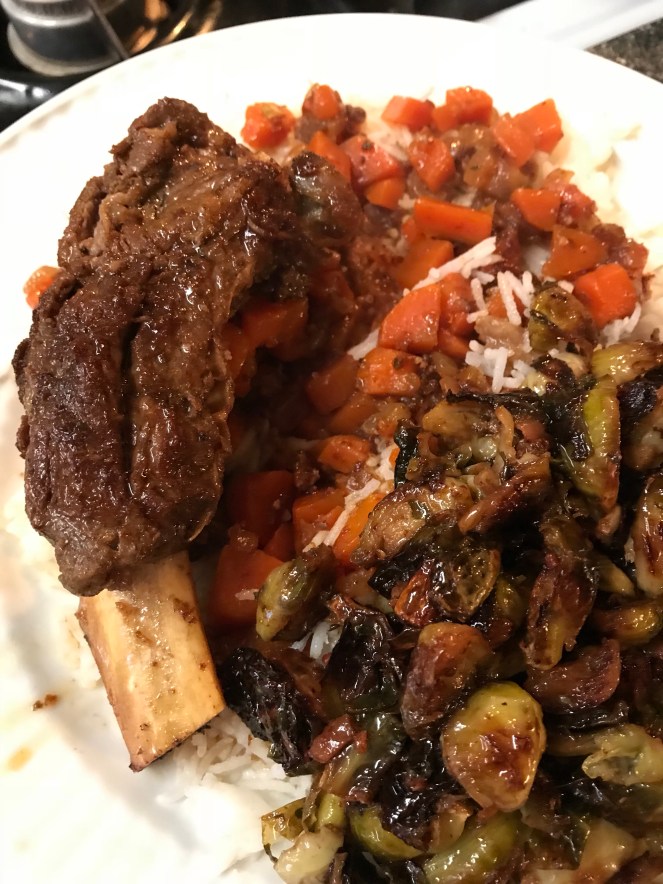
 David said that it was restaurant quality. I was super impressed that I cooked this! ha. I will be cooking this again.
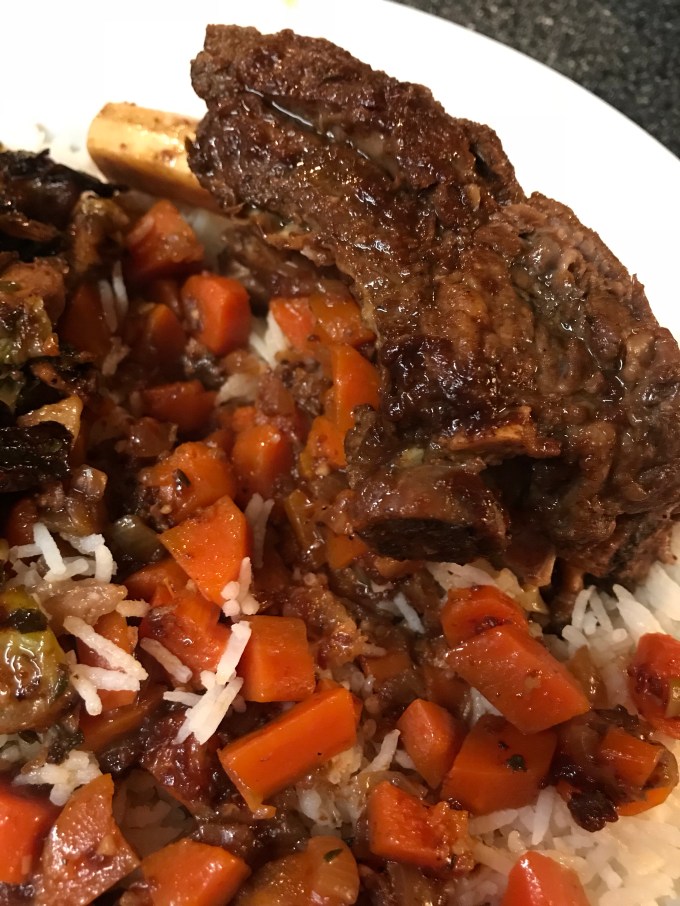
More Instant Pot recipes to come!
Blessings!
 I had leftover roasted broccoli that I used.
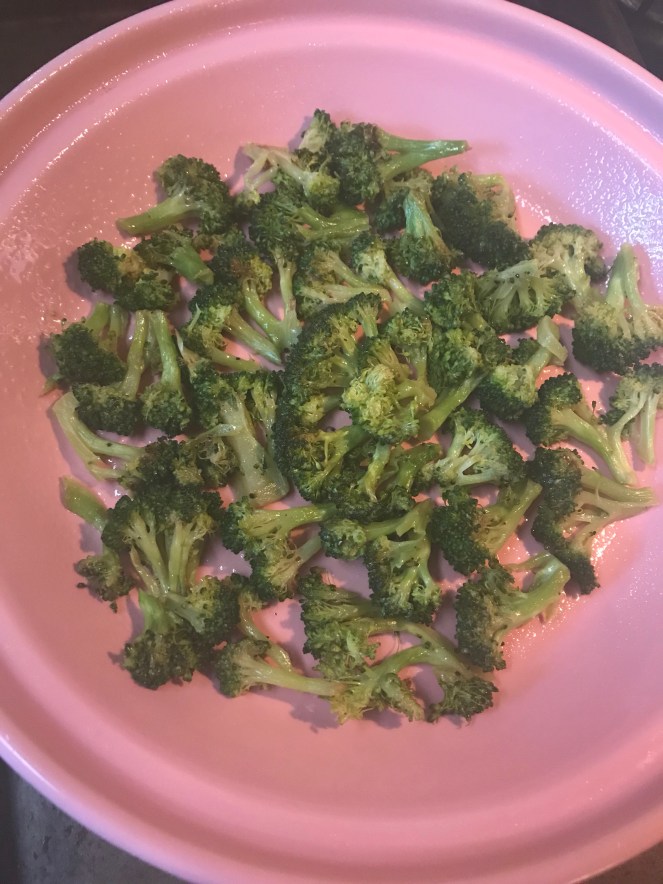 Whisk eggs, ricotta, milk, seasoning in a large bowl until well blended and light colored. Stir in broccoli and cheese. Pour into baking dish, and bake 35-40 minutes or until knife testing the custard near center comes out clean.
 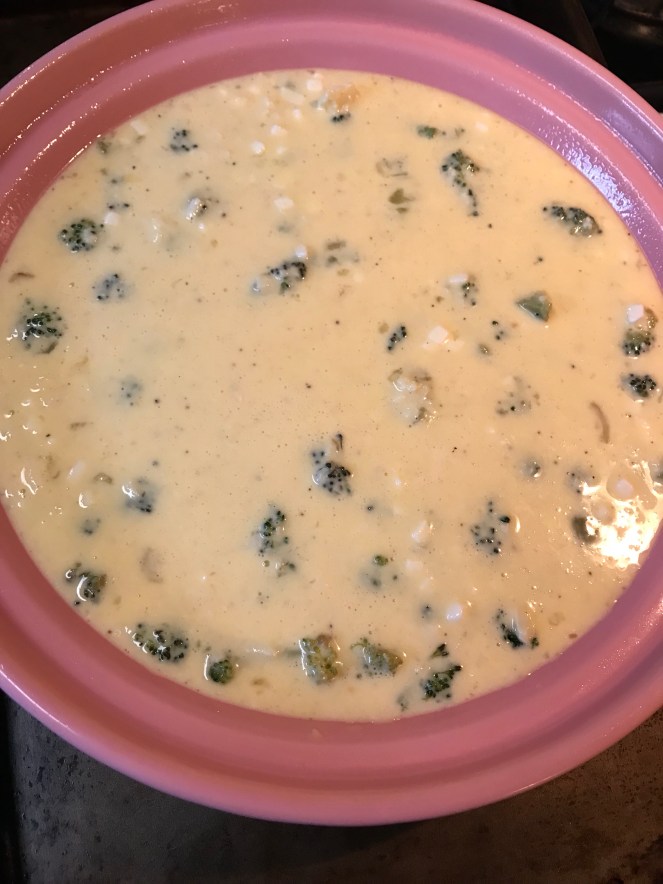 Center should still have a bit a of wiggle and top slightly puffed and golden. Cool slightly, serve warm rather than hot.
 Yummy. I didn’t miss having a crust at all. Moist, and the broccoli being roasted added more of a nutty flavor to it.
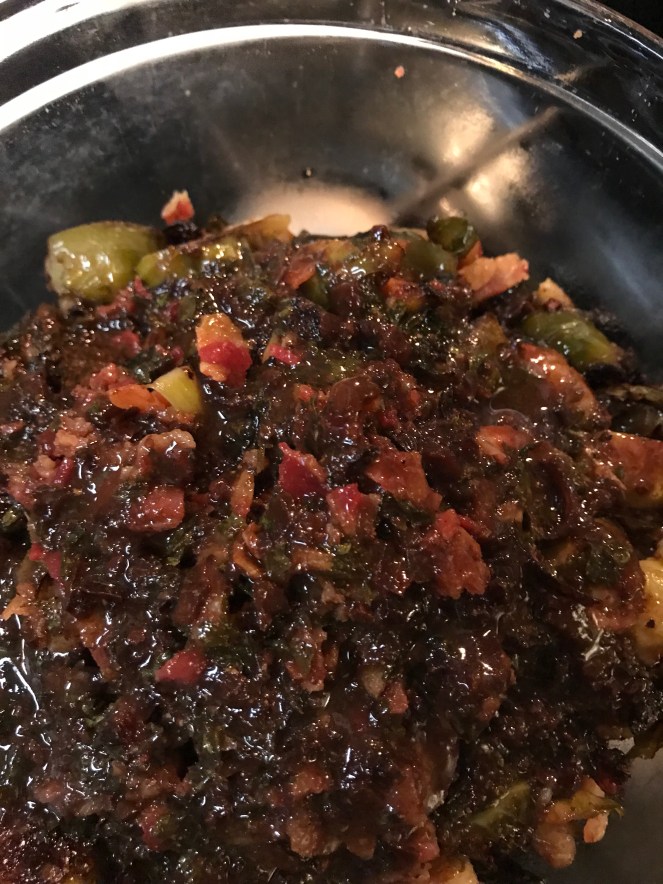
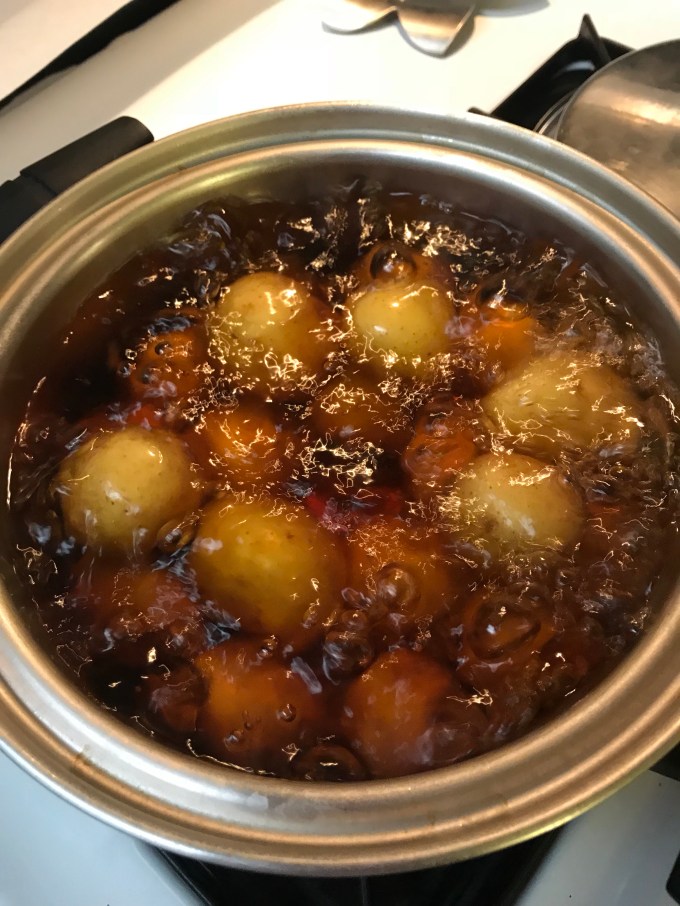
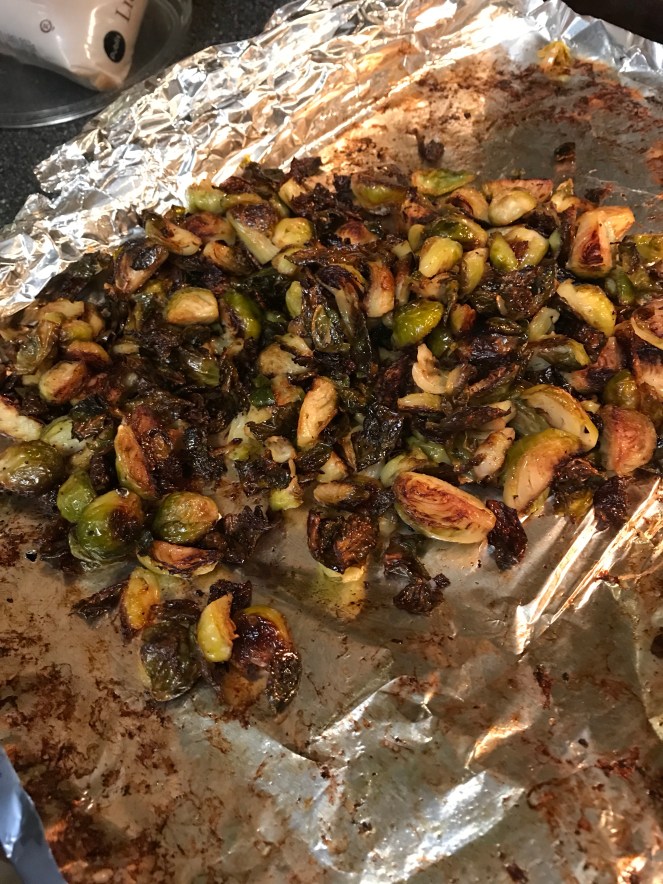 Getting them into a bowl was easy as well by using the foil as a funnel. The sauce or bacon vinegarette…well I added sherry wine, apple cider vinegar, balsamic vinegar and butter. Emeril’s recipe calls for Sherry vinegar, so I thought I would add the above? It worked!!


 Add the onion, garlic, marjoram and black pepper and stir.
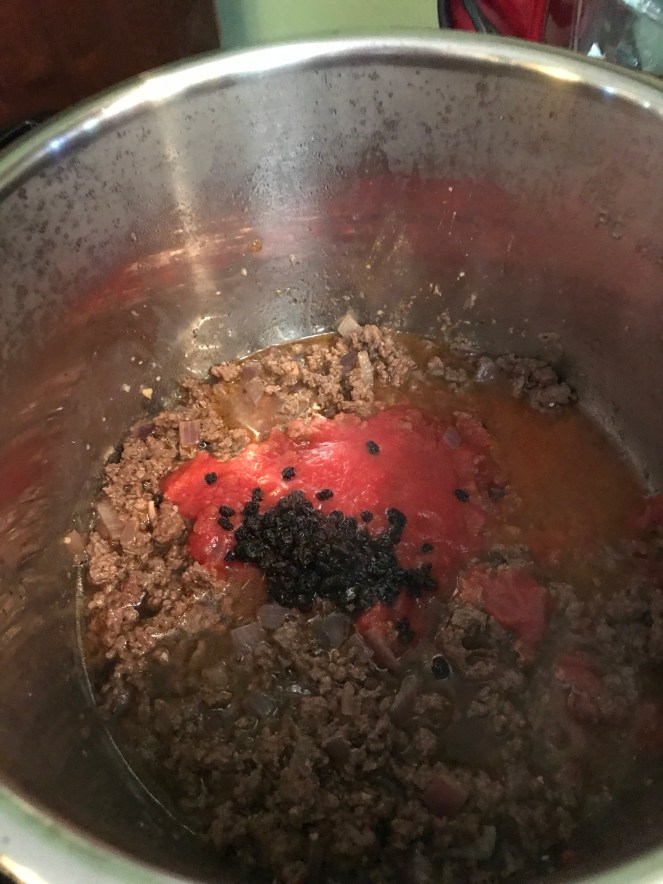 Add the tomato sauce, paprika, beef broth and raisins (we used currants), cover and cook high pressure 15 minutes.


 2. Preheat oven to 450º. Line a rimmed baking sheet with parchment paper.
 4. Meanwhile, melt butter in a saucepan (or in a microwave) with pepper and 1 tablespoon chives (I always have dried chives – so this is what we used). Remove from heat and whisk in remaining 2 teaspoons vinegar.
 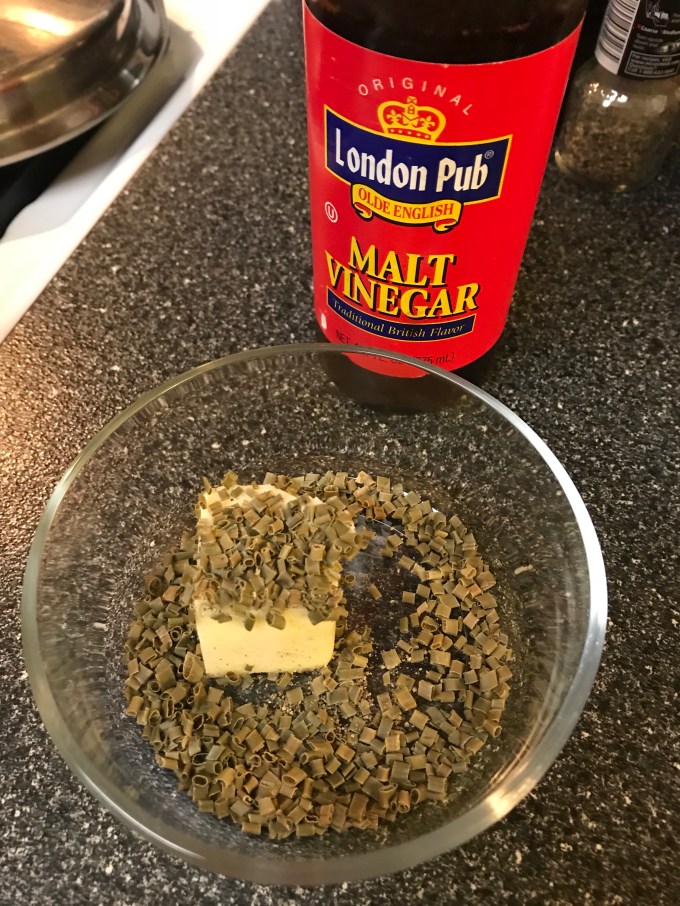 5. Use heel of your hand to gently smash and flatten each potato to a ½-inch thickness. Arrange smashed potatoes in a single layer on prepared baking sheet.
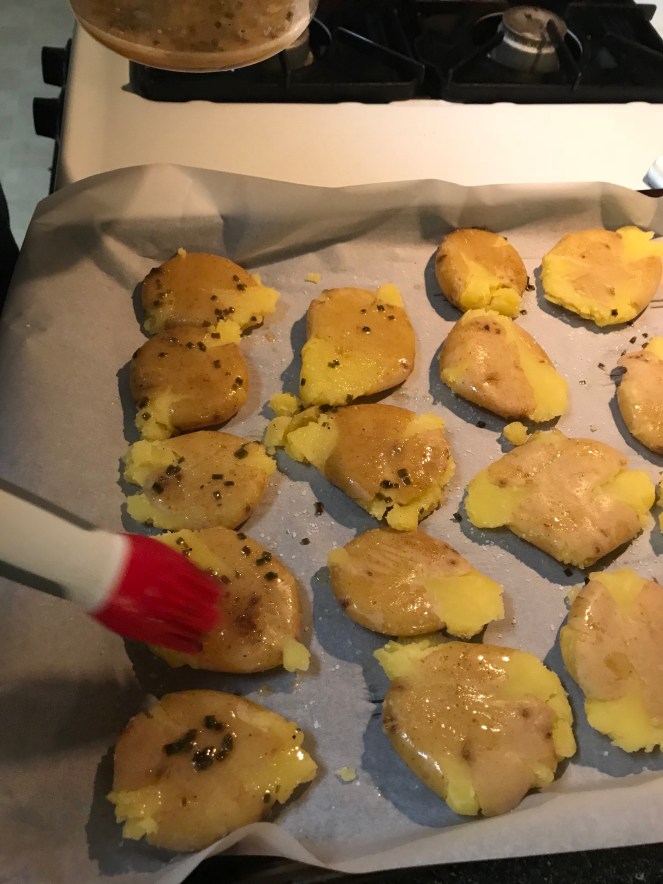
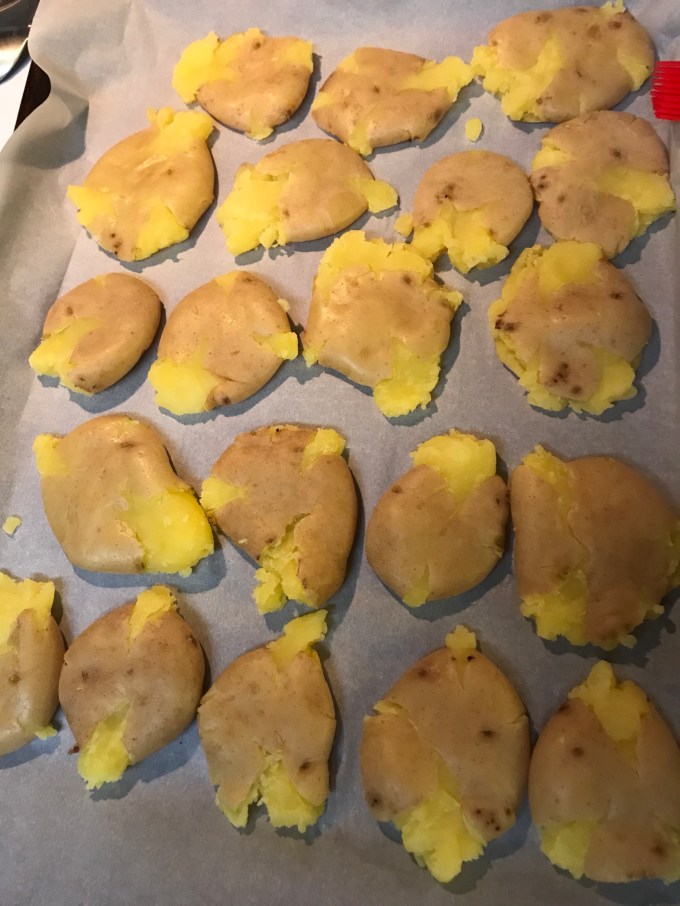 6. Brush potatoes with butter mixture, and sprinkle generously with salt. Flip and repeat on other side. Bake until edges are crispy and golden, 30 to 40 minutes. Brush generously with more vinegar; transfer to a serving platter. Sprinkle with remaining 1 tablespoon chives and desired amount of salt. Serve hot.
 I think it needs additional butter as I like my potatoes crispier. The vinegar taste was there, and we really never thought of boiling potatoes in vinegar.
 Overall, a tasty dish. We served the potatoes with

 One pound of ground chuck, half of onion, and one small zucchini shredded. Added Italian seasoning, two eggs, and some panko breading.
 I have the Brownie pan from
 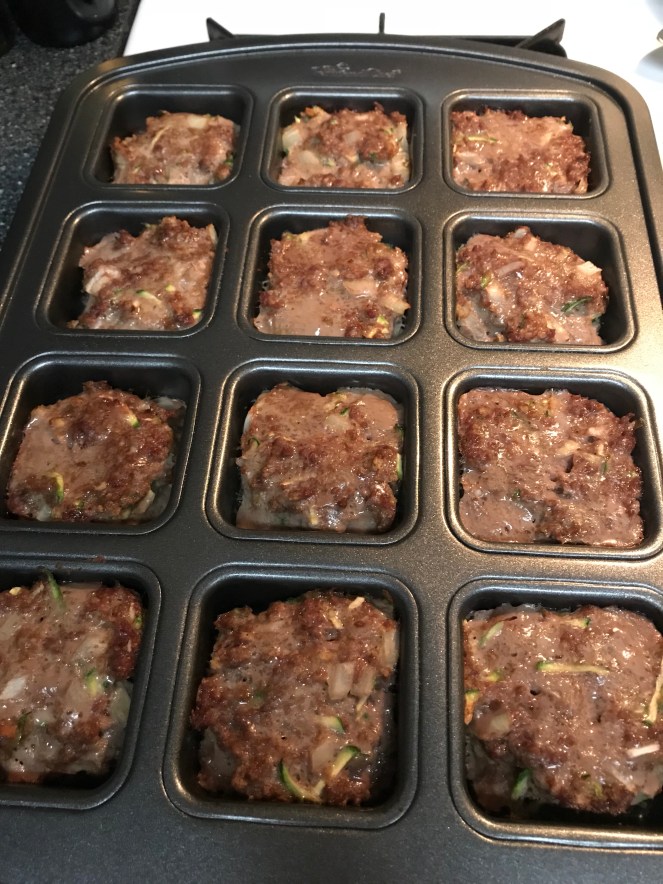 My plate with the vinegar smashed potatoes (another post). Perfect, juicy and the right portion size.
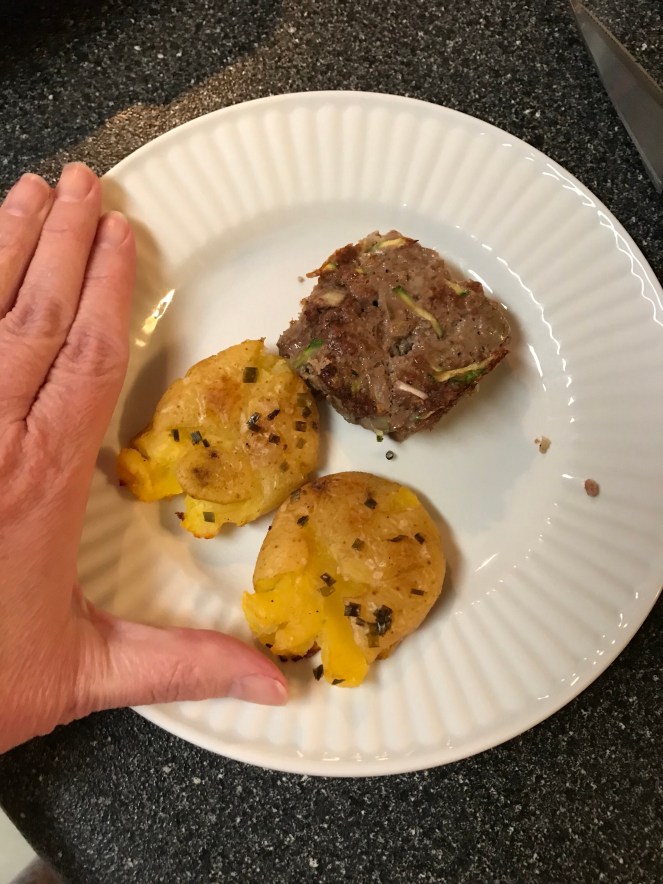

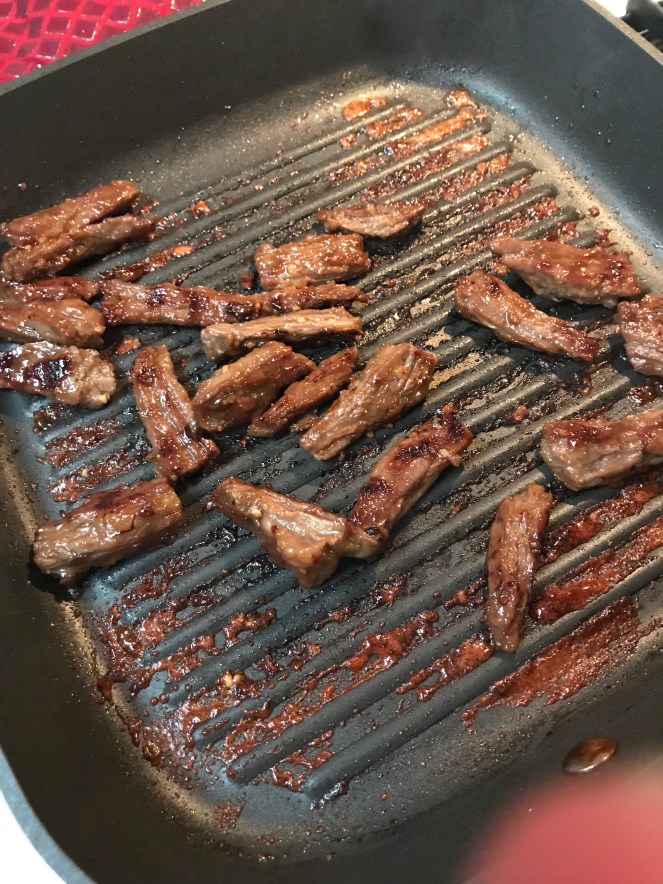
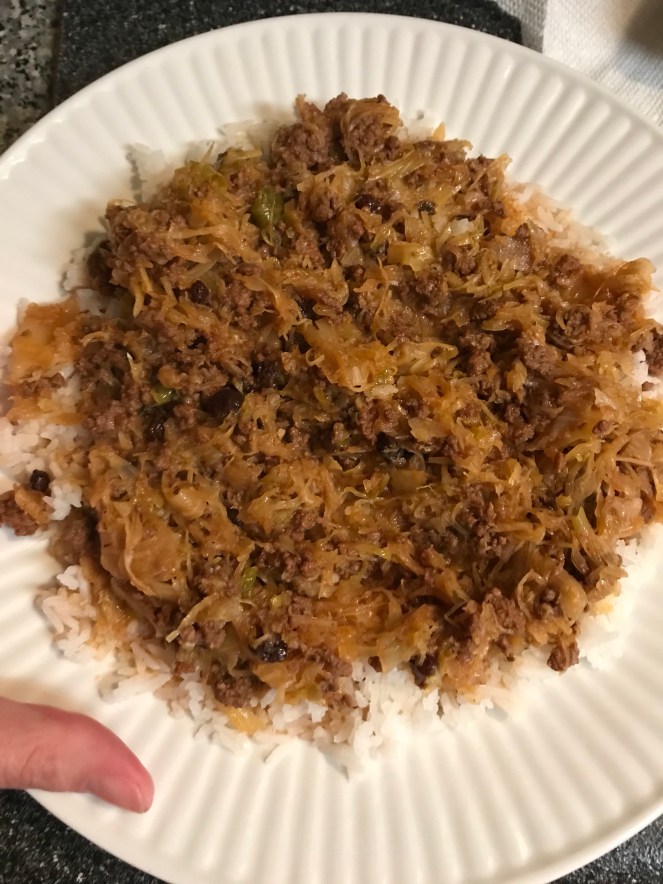
 To serve: Sprinkle the beef with sesame seeds and cilantro or mint, if using. Serve with rice, kimchi, nori, and gochujang. We did roasted mini peppers and purple onion.
 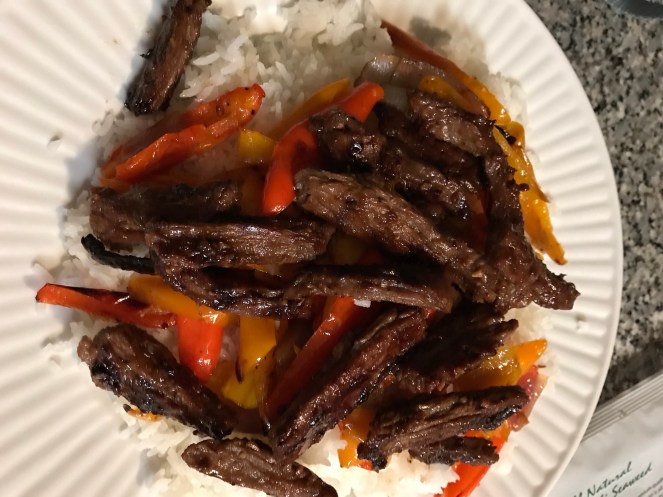 David’s plate, served over rice.
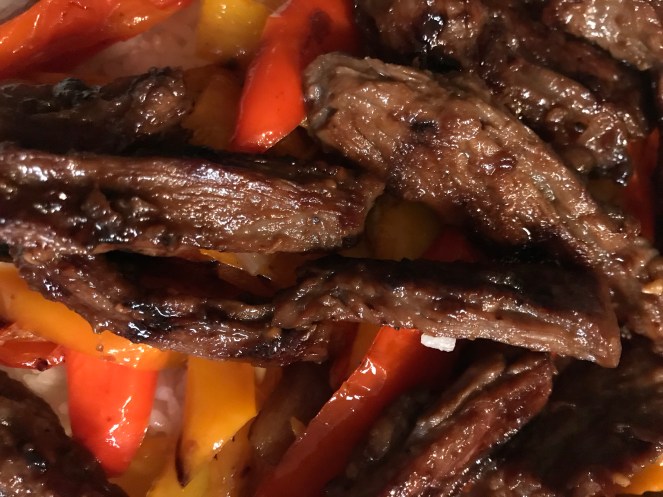 My plate. Lots of peppers and not so much meat. This so satisfied my craving for Korean.
 Like I said earlier, we will make this again! So yummy. Need to change the meat as the flank steak gets a little tough. Marinade was spot on.
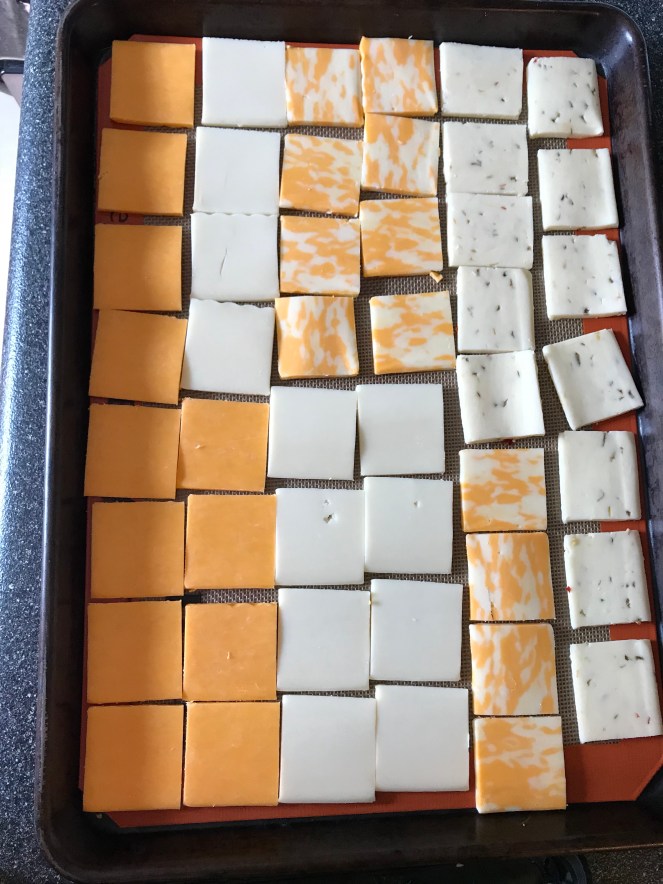
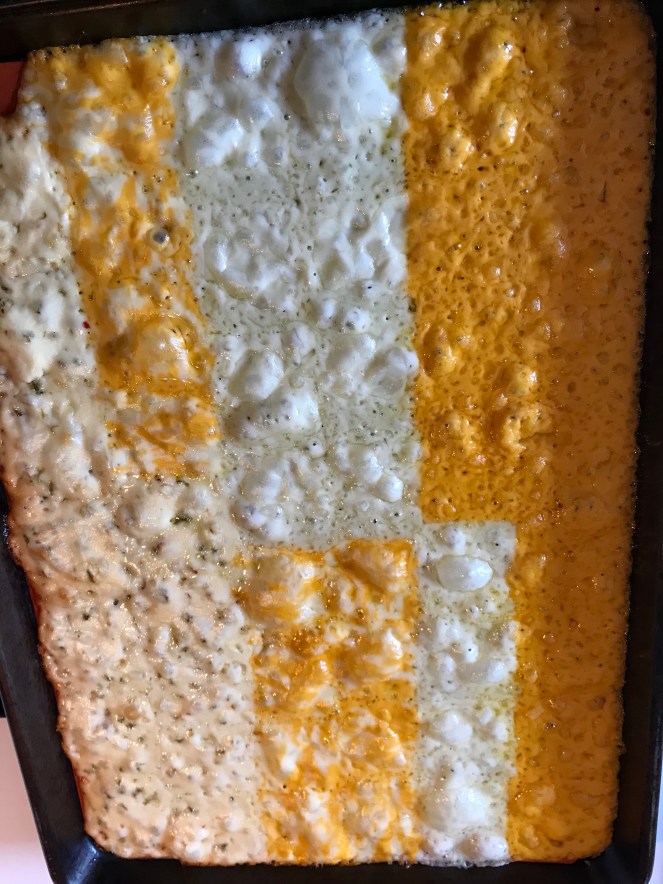
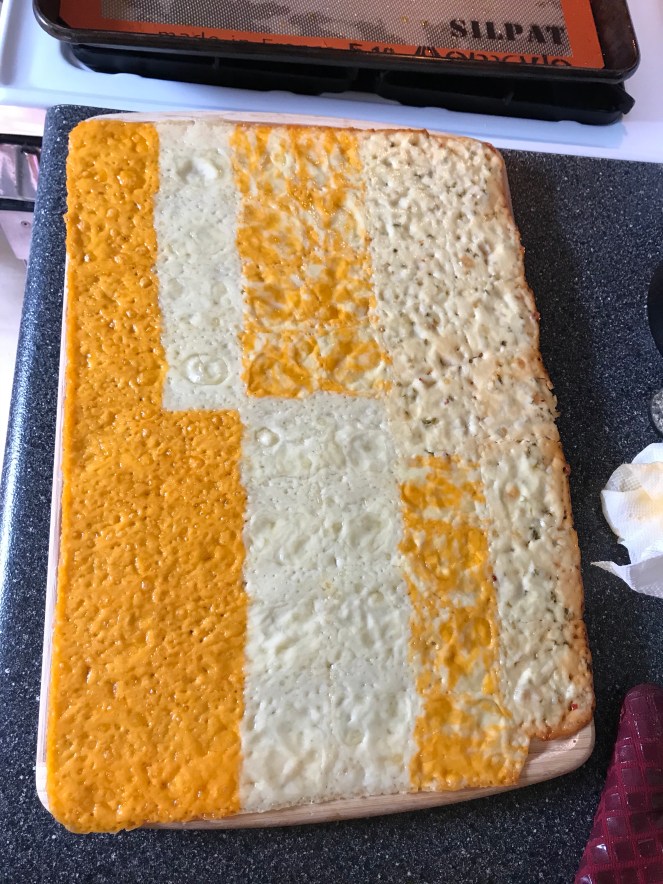 So the recipe was pretty simple. Take cheese slices, place them on the baking sheet (with a silpat), bake at 350 degrees for about 25 minutes. Well, this was my fail. Too many cheese slices on the baking sheet. Everything melted together. Yes, fail. So to recover, I cut the sheet and tried baking them a bit further.
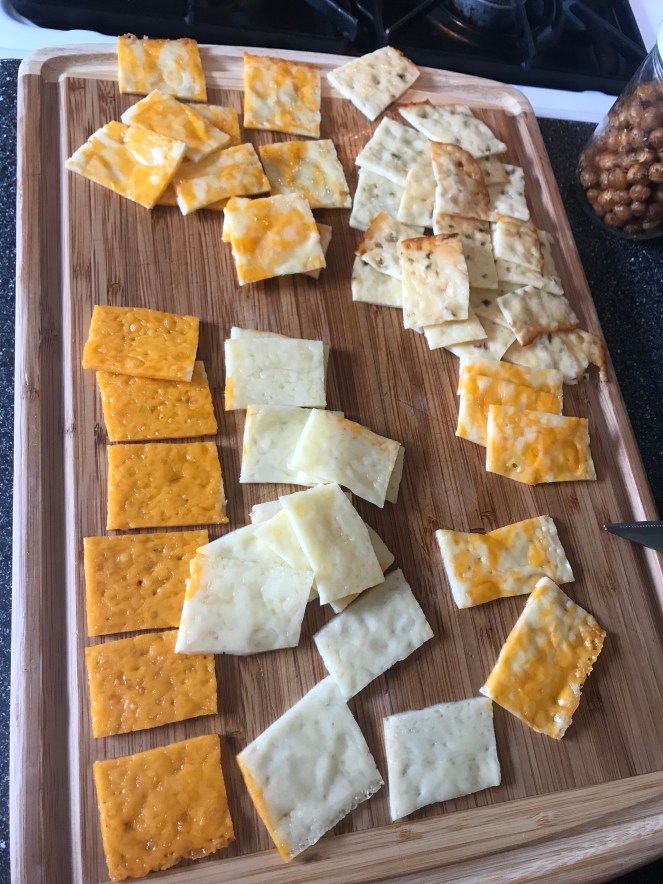
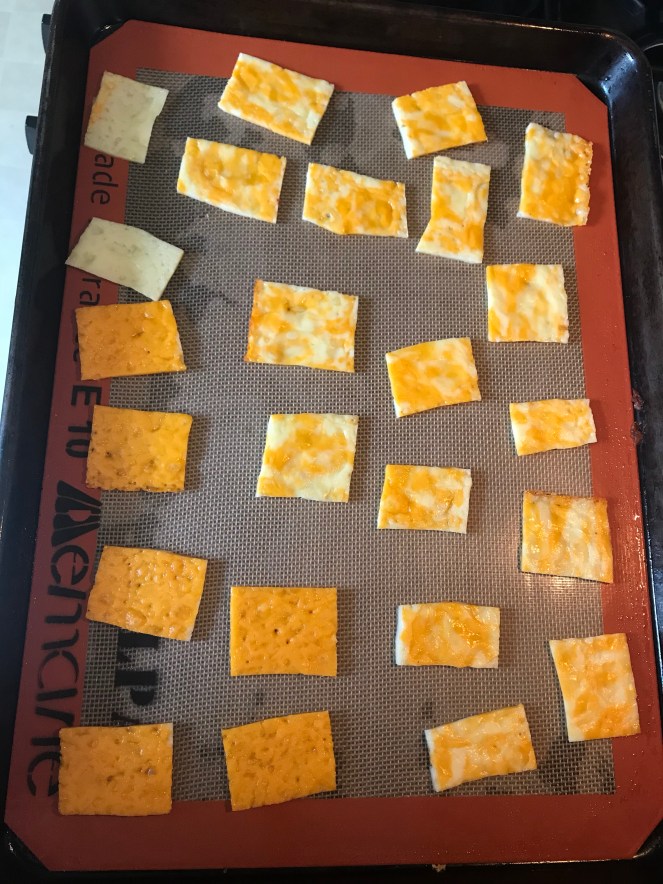 I spread them out more as well. They turned out wonderful this way. Crispy, crunchy, and savory.
  Loved these, and will make them again….So much better than buying them already done. I liked failing at this. It made me want to succeed, and conquer cooking. It was supposed to be super simple, and easy. It was, but if you do it correctly.
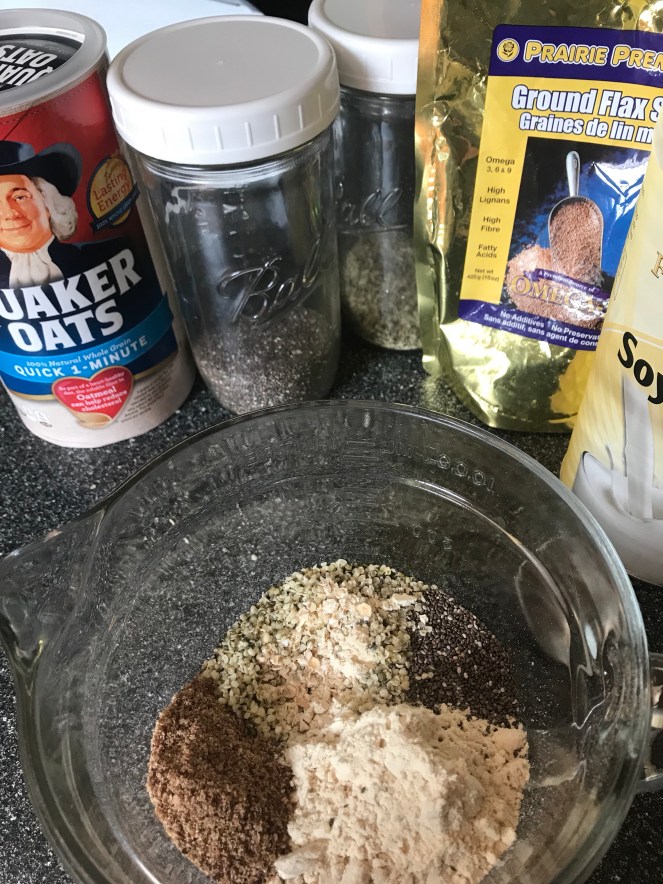 Mix the dry ingredients then add the peanut butter and honey. Stir until well blended.
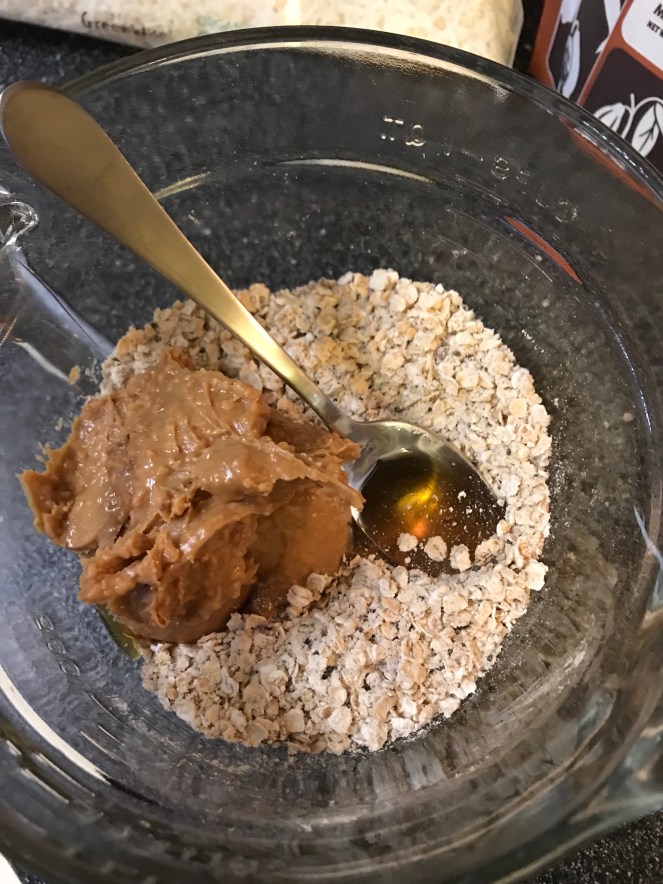 I rolled them in Cacao and coconut. Next time I will incorporate those items into the balls, as they really didn’t stick as well as I thought they would.
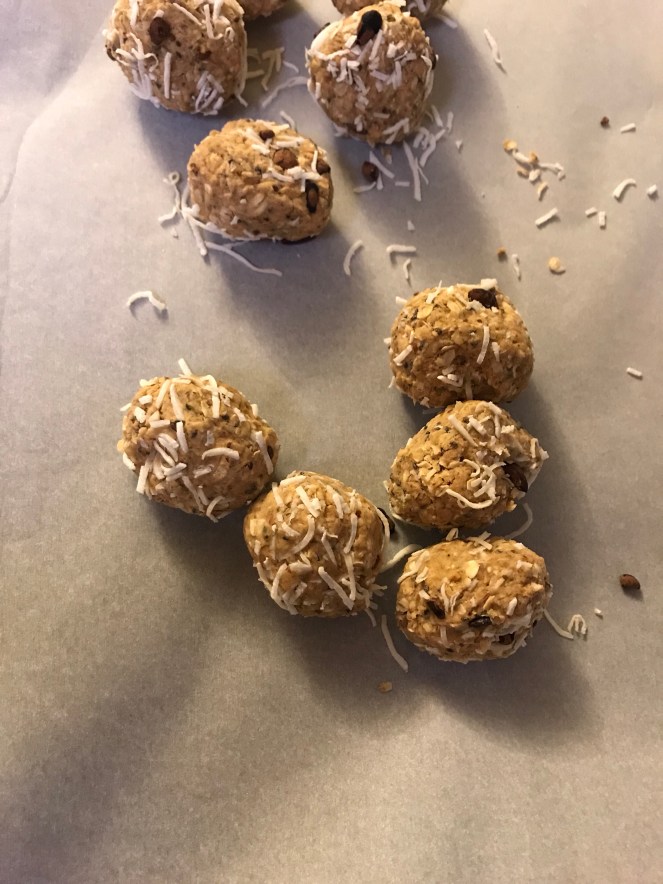 Form into balls, and place into the freezer for about a hour to firm or set. Thaw to enjoy!